Good images start with the right resolution. Whether you’re a photographer preparing work for print or the web, resolution controls how much detail survives reproduction — and that directly affects perceived quality, branding and clarity. This guide breaks down the essentials of DPI and PPI, the practical standards for print and digital, and simple steps you can take to keep your photos looking sharp across every platform. Read on to make better choices when preparing images for clients, marketing or your portfolio.
Resolution describes how much visual information an image contains, usually expressed in pixels. The number of pixels in an image determines its dimensions and how much fine detail it can show. More pixels generally mean a sharper result; fewer pixels can lead to visible blockiness or loss of texture. Knowing how pixels, dimensions and viewing distance interact is key to producing high-quality images.
Pixels are the smallest building blocks of a digital image. An image that’s 1920×1080 pixels is 1920 pixels wide and 1080 pixels tall — a total of 2,073,600 pixels. That total pixel count sets how much detail you can reproduce: higher pixel dimensions let you crop more tightly or print larger without losing sharpness, while low-resolution files limit your options.
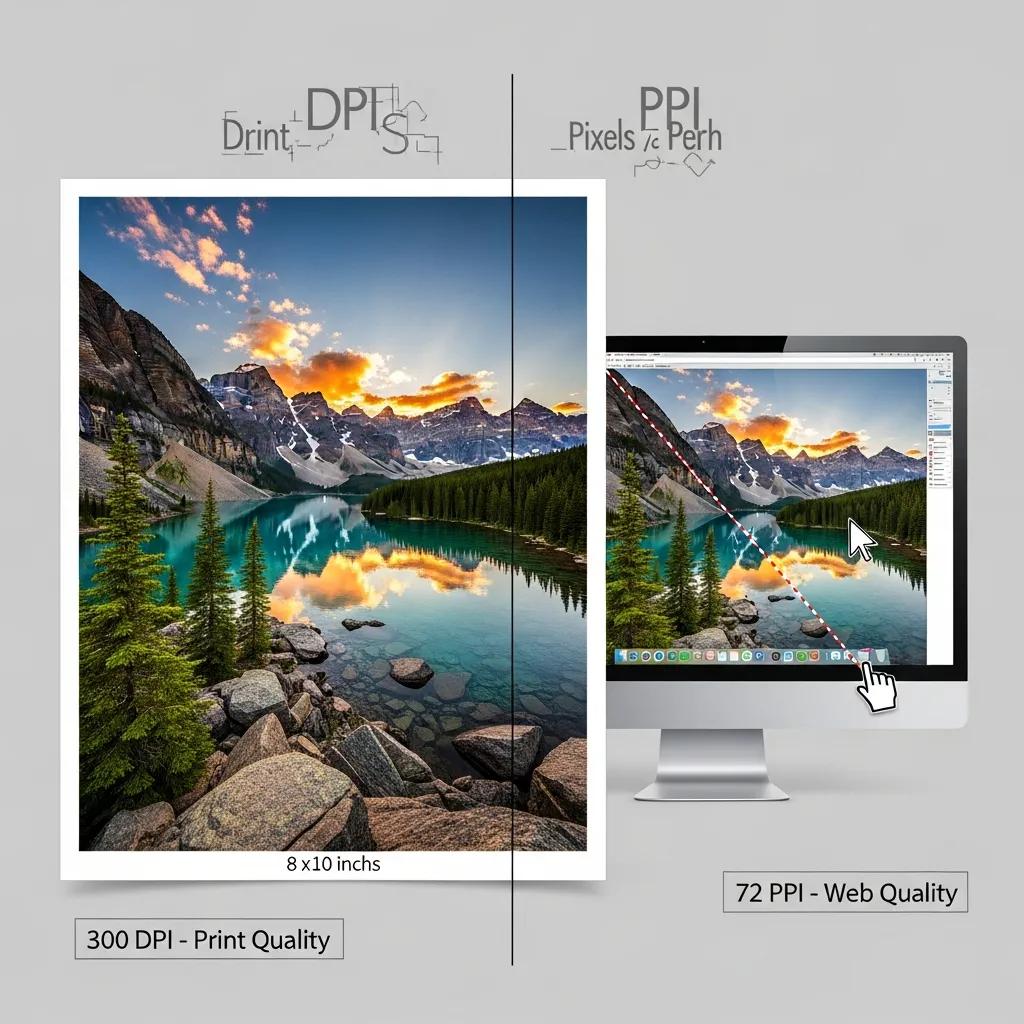
Resolution matters differently depending on the output. For print, higher pixel density (commonly 300 PPI) is needed so photographs look crisp at close viewing distances. For the web, lower pixel densities are used to keep file sizes reasonable and pages fast to load. The trick is matching resolution and file size to the medium so you don’t sacrifice quality or performance.
DPI and PPI are related but not identical. DPI (dots per inch) describes how many ink dots a printer places per inch. PPI (pixels per inch) describes pixel density on a digital image or display. Understanding both helps you prepare files that reproduce accurately — whether they’re printed in a brochure or viewed on a high-resolution screen.
DPI measures the ink dot density from a printer. 300 DPI (or 300 PPI when preparing image files for print) has become a practical standard because it provides enough detail for most close-view printing without unnecessarily inflating file sizes. For professional photography and marketing materials, aiming for 300 ensures text and fine detail remain crisp.
PPI refers to the pixel density of an image as it’s displayed. On the web, the commonly quoted 72 PPI is a historical baseline — what really matters is pixel dimensions and file size. Lower PPI metadata won’t magically make an image smaller; resizing and compression do. Balance sharpness and download speed by exporting sensible pixel dimensions and using efficient compression.
Preparing images for print means matching the image’s pixel dimensions to the final print size and viewing distance. Different printed pieces and formats call for different targets — getting them right prevents soft or pixelated prints.
Set your image to the intended print dimensions at 300 PPI in your editor, starting from the highest-quality source (RAW or large JPEG/TIFF). Check that your pixel dimensions support the target print size without upsizing, and export in a suitable format (TIFF or high-quality JPEG) with appropriate colour settings for printing.
Large-format items viewed from a distance (banners, building wraps) can often use 150 PPI or lower because the viewer stands further back. Materials handled up close — brochures, business cards, posters — benefit from 300 PPI so text and fine detail stay sharp. Always consider viewing distance when choosing resolution.
On the web, the goal is to show images that look great while keeping pages fast. That means choosing the right pixel dimensions, the right file format and modest compression — not just changing PPI metadata.
For standard displays, exporting images at the pixel dimensions they’ll be shown at is more important than PPI metadata. Historically 72 PPI is used, but what really reduces load time is lowering unnecessary pixel dimensions and compressing intelligently. For galleries and hero images, aim for the smallest pixel size that still looks crisp on the page.
High-density screens (Retina, 2× or 3× displays) pack more pixels into the same space, so images can look soft unless you supply larger pixel dimensions. A common approach is to export images at 2× (or 3×) the display size and serve them responsively, so they appear crisp on high-density devices without overloading regular screens.

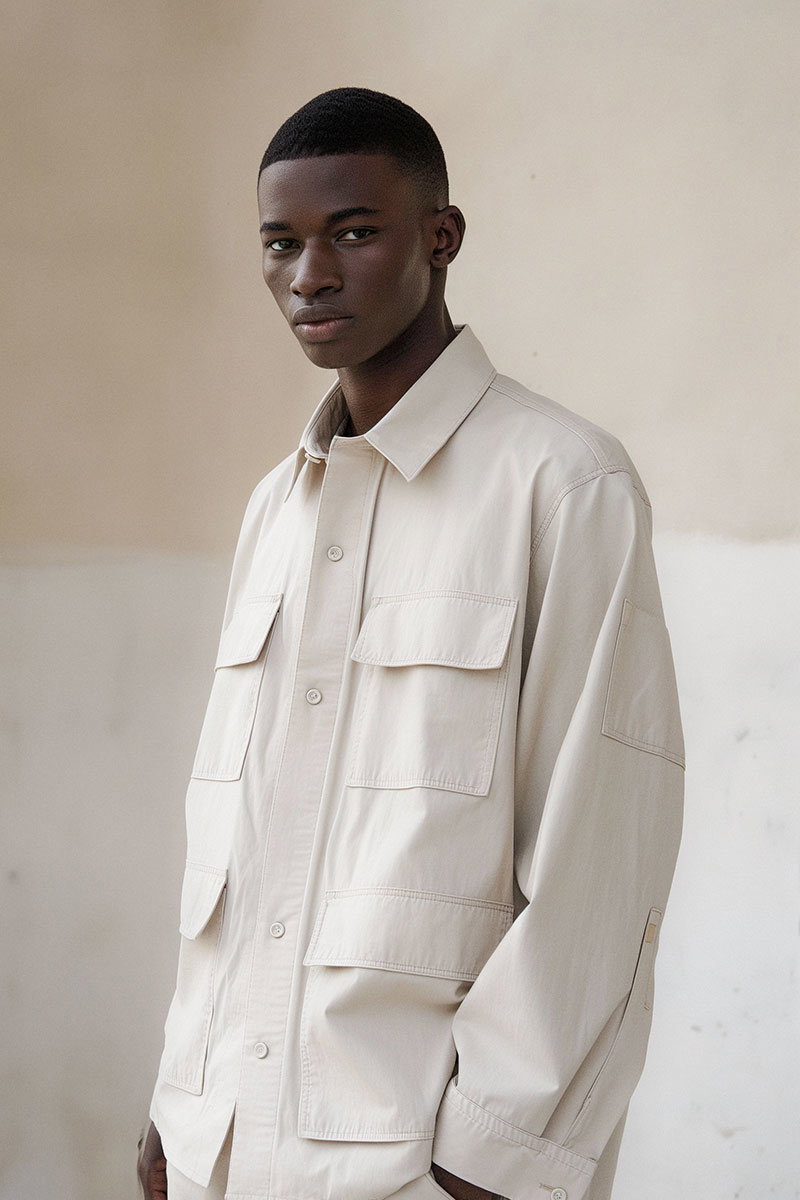
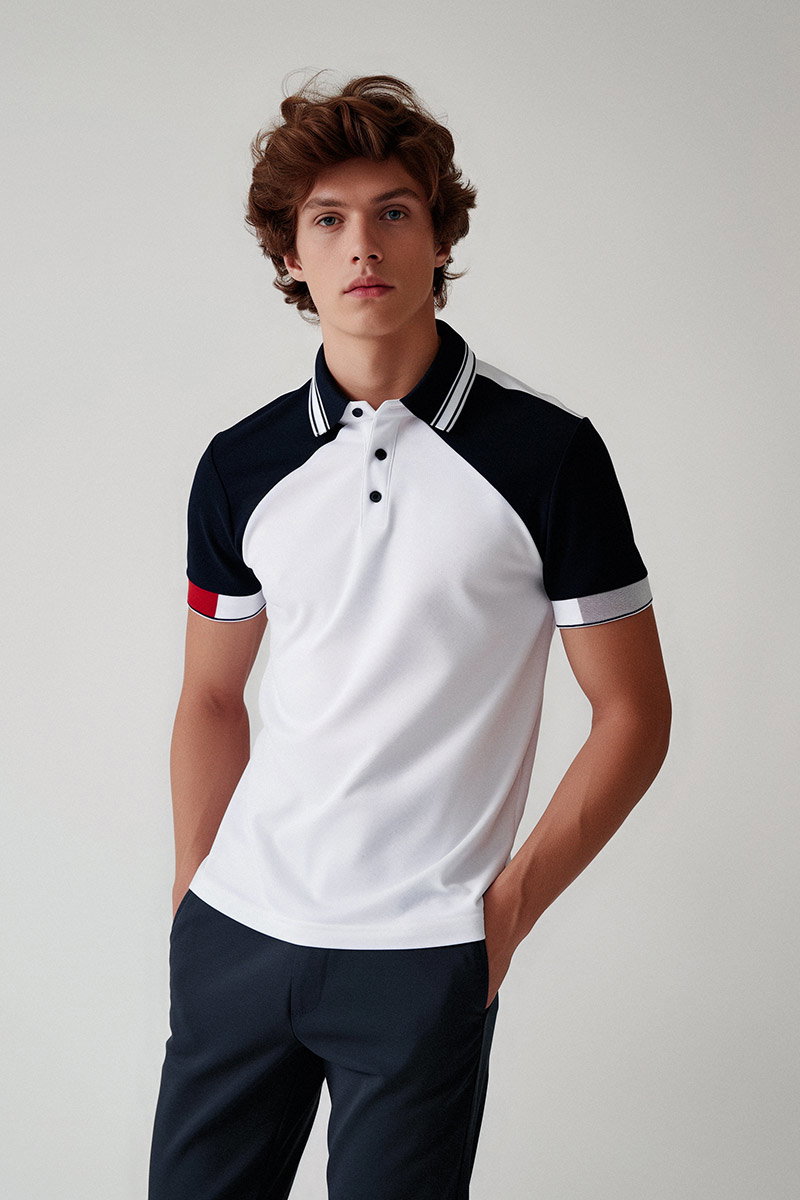
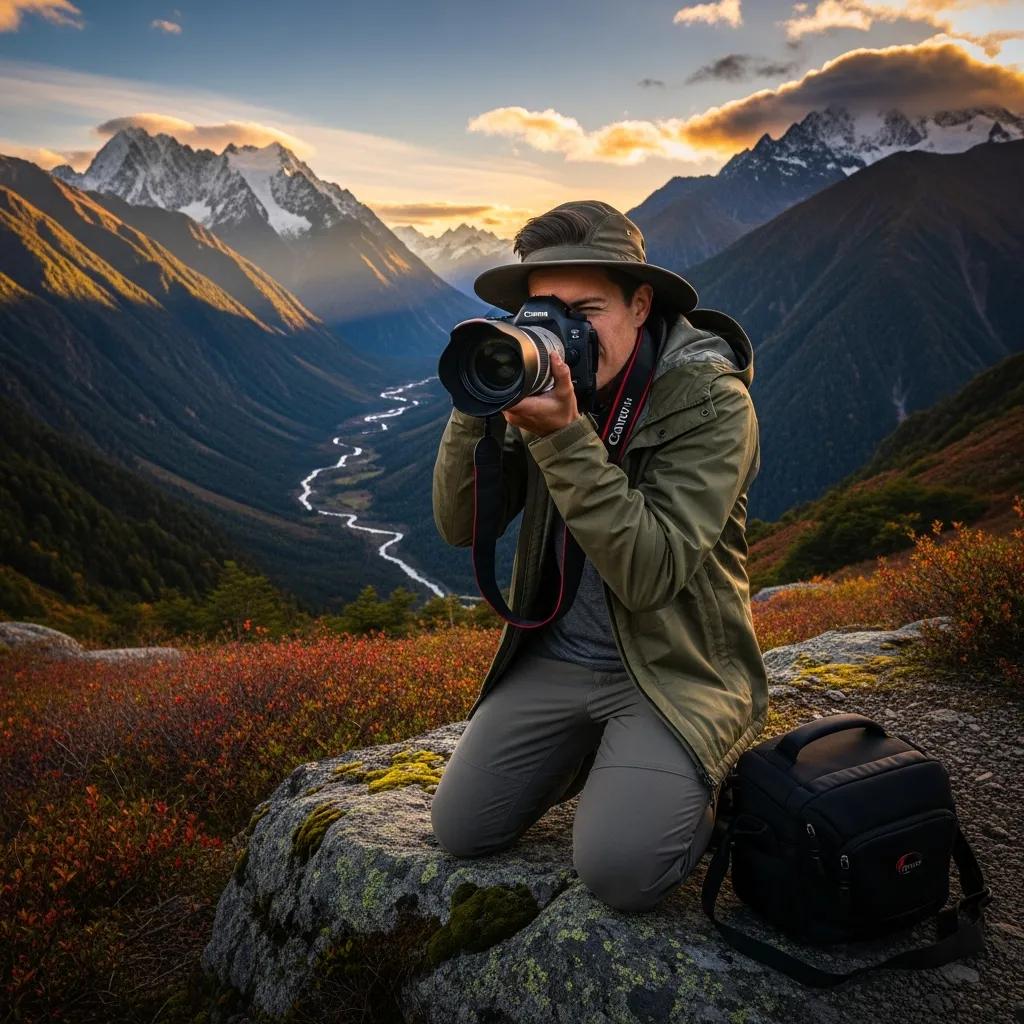
High-resolution imagery signals quality and attention to detail — two things clients notice immediately. Whether it’s a corporate headshot, a product gallery or a printed brochure, sharp images reflect well on your brand and help you communicate professionalism and care.
For profile images and portfolios, resolution affects how clearly facial features and textures render. For printed headshots or physical portfolios, supply images at 300 PPI. For online profiles, provide well-cropped, properly-sized images that retain detail when viewed at full size — a crisp presentation helps convey trust and competence.
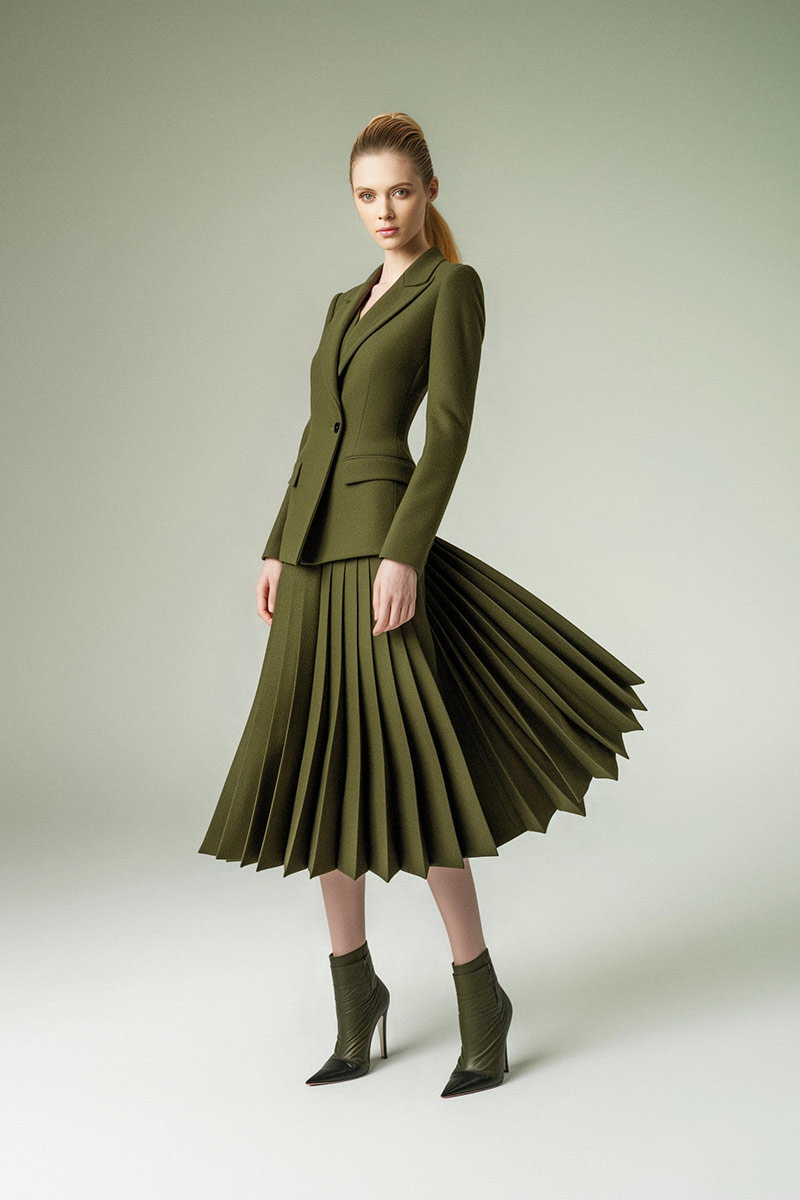
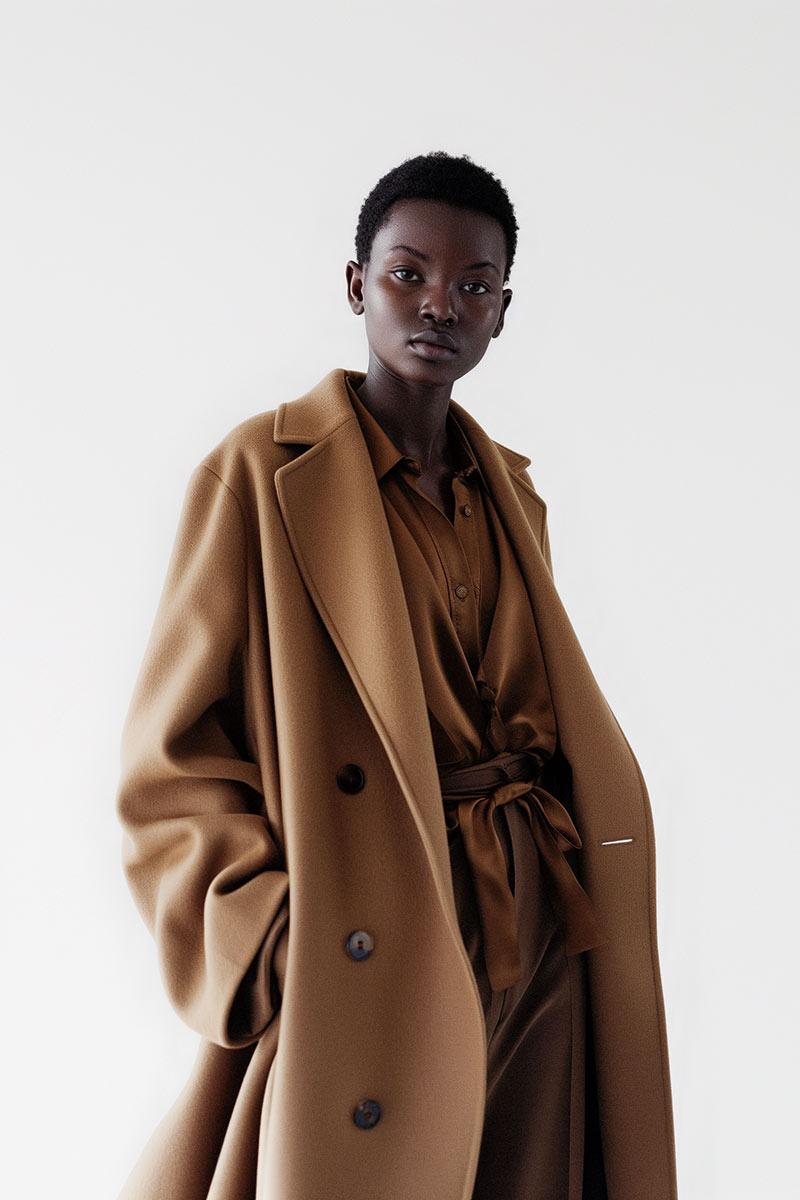
In e-commerce, customers rely on images to judge texture, fit and finish. High-resolution photos that allow zooming and close inspection increase buyer confidence and reduce returns. Provide large master files for print and high-quality, compressed versions for the site to balance clarity with performance.
At EyeMedia Studios we combine technical capture and careful post-production to deliver images that work across print and digital. From initial shoot planning through to colour-managed files, we prepare assets that reproduce consistently and professionally for every use.
We use professional cameras and lenses, shoot RAW, and compose with final output in mind. During post-production we perform careful colour correction, sharpening and export using the right colour profile and file format for print or web. The result is dependable, high-resolution imagery that meets each project’s requirements.
Retouching refines the final image — correcting skin tones, removing distractions and balancing exposure — so photographs look polished without appearing overworked. Thoughtful retouching preserves natural detail and helps images perform better in print and online, reinforcing the client’s professional image.
In short: know your final size and viewing distance, capture from the highest-quality source you can, and export versions tailored to print or web. That approach keeps images sharp, reduces unexpected surprises and strengthens your professional presentation. EyeMedia Studios helps clients in London get those results — consistently and reliably.
Resolution is about how much detail an image contains (pixels or DPI/PPI). Image quality is broader — it includes resolution plus colour accuracy, sharpness, exposure and composition. You can have a high-resolution file that still looks poor if the lighting, focus or colour are off; conversely, good technique and retouching can make moderate-resolution images look much better.
Open the image in an editor like Adobe Photoshop and check Image → Image Size to see pixel dimensions and PPI. On Windows, right‑click the file, choose Properties → Details; on Mac, right‑click → Get Info. Those values tell you whether a file will support your intended print size or web use.
For the web, export at the pixel dimensions the image will display at (or at 2× for high-density screens), choose JPEG for photographs and PNG for transparency, and compress intelligently with tools like TinyPNG or Photoshop’s Export/Save for Web. Use descriptive file names and alt text for accessibility and SEO.
High-resolution images can improve engagement, but very large files slow page load times and harm SEO. Optimise by resizing to necessary dimensions, compressing without visible loss, and using responsive images. Fast-loading pages with clear imagery deliver the best user experience and SEO results.
Tools like Adobe Photoshop (Export/Save for Web), TinyPNG, ImageOptim and services/plugins such as Smush for WordPress help compress and resize images while preserving quality. Use these as part of your publishing workflow to keep images lean and effective.
You can, but export separate versions. Keep a high-resolution master (300 PPI or larger) for print, and create resized, compressed copies for the web. That ensures great-looking prints and fast-loading web pages without compromising either image resolution.