Photography has its own vocabulary — and that vocabulary can feel overwhelming when you’re starting out. Knowing the key terms helps you shoot with intention, talk confidently with photographers, and get the results you want. This guide breaks down the essentials: clear definitions, practical tips and real-world examples. Read on to understand camera settings, lens types, lighting approaches and photography terminology rules so you can make better images — faster.
There are a handful of concepts that will unlock most of photography for you. Learn these, and you’ll find it easier to set up shots, troubleshoot problems and discuss creative choices with confidence.
Aperture is the opening inside a lens that controls how much light reaches the sensor. It’s shown as f‑numbers: lower values (f/1.8) mean a wider opening, more light and a shallower depth of field — great for portraits that blur the background. Higher values (f/16) give a smaller opening, less light and more of the scene in focus — ideal for landscapes.
Shutter speed is how long the camera’s shutter stays open. Fast speeds (for example 1/1000s) freeze movement, useful for sports or wildlife. Slow speeds (like 1/2s) let motion blur show, which can convey movement — think silky waterfalls or streaking city lights.
Good images come from balancing aperture, shutter speed and ISO. Together they control exposure and shape the final look — from brightness to motion and grain.
ISO sets how sensitive your camera’s sensor is to light. Low ISO (e.g., 100) gives clean images in bright conditions. High ISO (e.g., 3200) helps in low light but can introduce visible noise. The trick is balancing ISO with aperture and shutter speed to get the exposure and image quality you want.
These three controls form the exposure triangle. Change one and you’ll often need to adjust the others — for example, open the aperture to let in more light, then use a faster shutter speed or lower ISO to keep the exposure balanced. Mastering their interaction gives you creative control over every shot.
Lenses determine perspective, depth and image quality. Choosing the right glass for the job is as important as camera settings.
Common lenses you’ll encounter include:
Focus modes tell the camera how to lock focus. The main options are:
Picking the right mode makes the difference between a sharp image and a missed moment.
Lighting shapes mood; composition shapes attention. Together they turn technical know‑how into memorable images.
Key lighting approaches include:
Composition helps you organise the frame so viewers look where you want them to. Useful rules include:
Seeing examples makes the concepts click. If you want to experience these techniques firsthand, a professional shoot shows how settings and lighting come together.
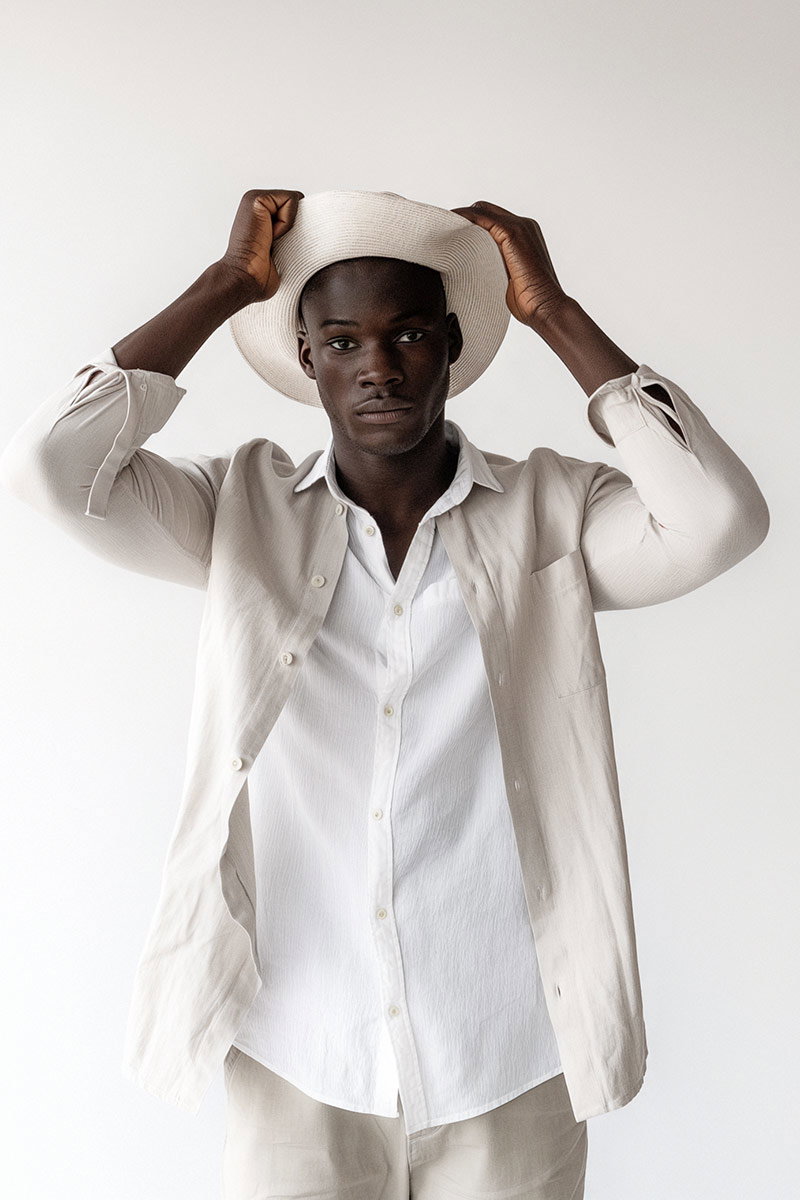
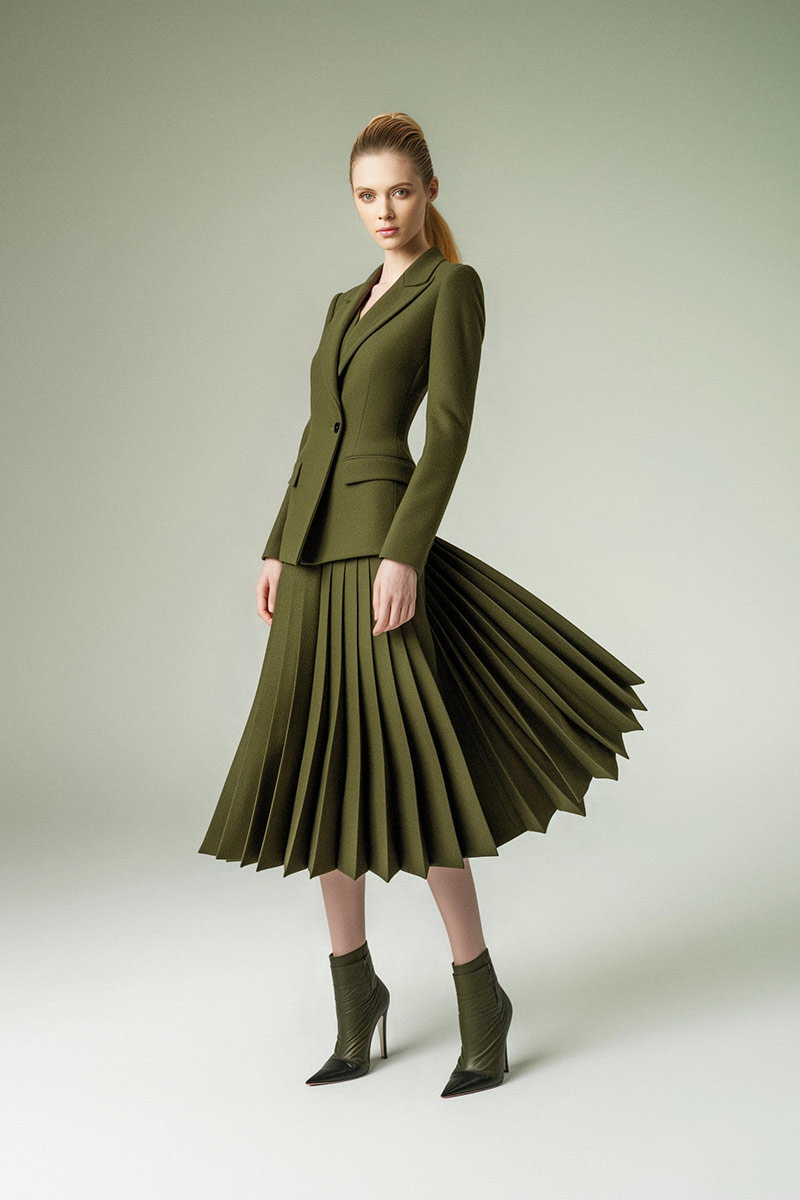
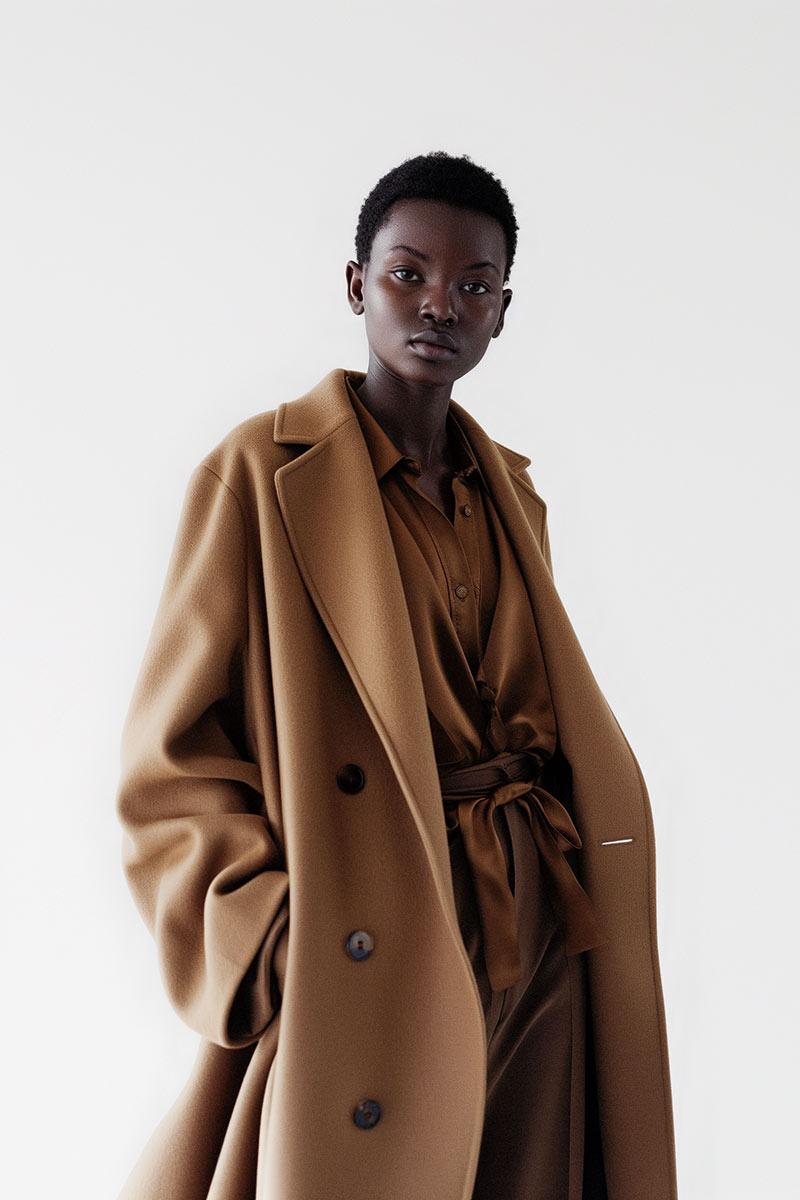
At EyeMedia Studios we showcase work that highlights these principles — from aperture choices that isolate a subject to lighting setups that sculpt a face. Our portfolio shows practical, real-world applications so clients can see the techniques before they book.
Booking is simple: explore our portfolio, choose a service that matches your needs, and follow the booking steps on our site. We work with actors, professionals, models and commercial clients, tailoring each session so you get images that represent you or your brand.
Photography blends technical skill and creative choice. Learning the key terms helps you make intentional decisions, communicate clearly with photographers and develop your own visual style. Whether you’re just starting or honing your craft, understanding these basics will improve your images and make the process more rewarding.
Composition is how you arrange elements in the frame to create impact. Strong composition guides the viewer’s eye, balances the scene and helps tell the story you want the image to convey. Techniques like the Rule of Thirds, leading lines and framing are practical tools that make photography terminology stronger and more memorable.
Practice regularly and shoot with purpose: try small projects, review your images critically and ask for feedback from communities or peers. Study work you admire and reverse‑engineer the choices made. Experiment with different settings, lighting and subjects — hands‑on experience accelerates learning faster than theory alone.
Post‑processing refines your images after capture. It’s where you correct exposure, balance colour, fine‑tune contrast and remove distractions. Tools like Lightroom and Photoshop give you control, but the goal should be to enhance your vision rather than mask it. Good editing elevates the photo while keeping it believable.
Beginners often rely too much on auto modes, overlook composition and underestimate the importance of light. Other frequent errors are using inappropriate ISO for a situation or neglecting to stabilise the camera on slow shutter speeds. Awareness of these pitfalls and intentional practice will speed up your improvement.
Your lens choice depends on subject and style. For portraits, a fast prime gives flattering background blur; wide‑angle lenses suit landscapes and interiors; telephoto lenses help with distant subjects like wildlife. Consider focal length, aperture and the look you want to achieve when selecting glass.
Open the aperture to let in more light, raise ISO cautiously to avoid excessive noise, and use slower shutter speeds with a tripod to prevent blur. If possible, add continuous light or flash to control the scene. Practising these approaches will help you feel confident in dim conditions.
Learning the language of photography gives you confidence behind the camera and helps you get closer to the images you imagine. Master aperture, shutter speed and ISO, choose the right lens and use light and composition to tell your story. If you’d like hands‑on guidance, book a session with EyeMedia Studios and see these concepts in action — we’ll help you turn knowledge into great photographs.