Great product photos aren’t optional — they’re essential. This practical ecommerce checklist, distilled from years of ecommerce shoots, shows you how to prepare products, choose the right kit, nail your on-shoot technique and finish images for the web. Follow these steps to present products clearly, reduce returns and increase conversions. We’ll cover preparation, gear, shooting tips, post-production, the benefits of professional support and the key trends shaping ecommerce imagery in 2026.
To create product images that look professional and sell, follow this simple checklist used by our studio:
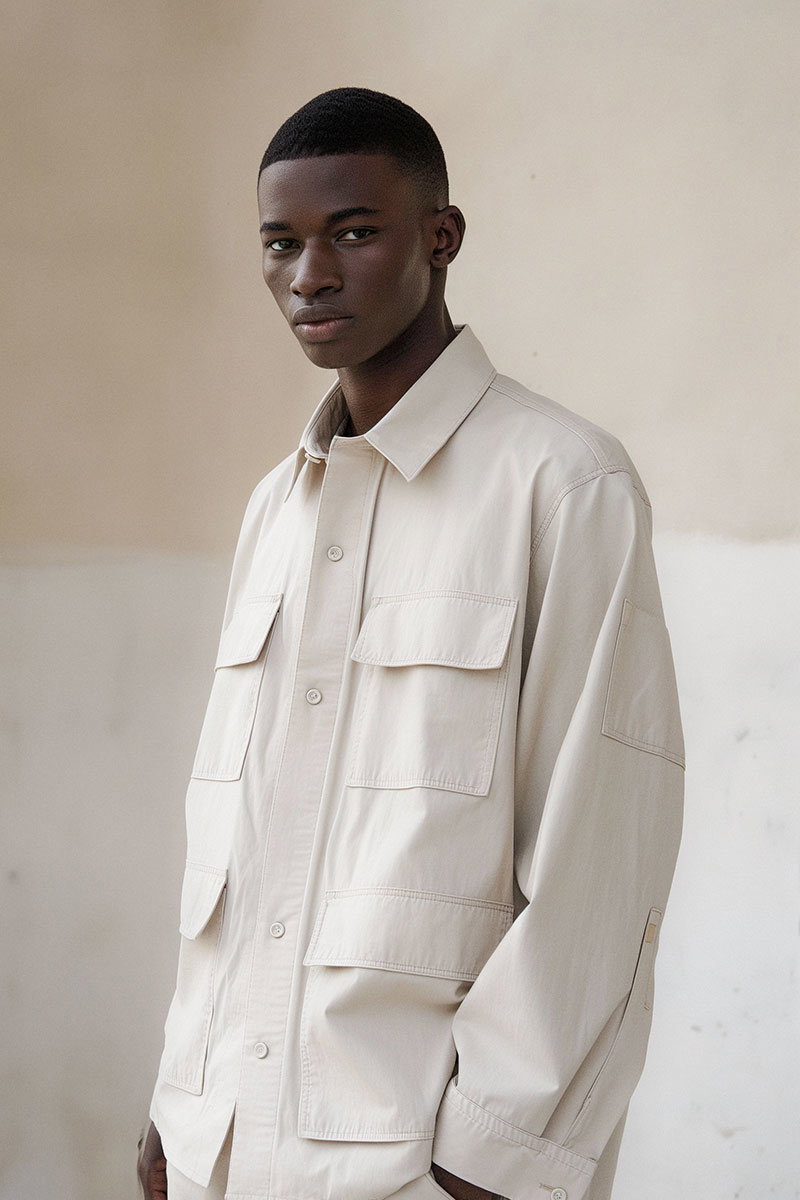
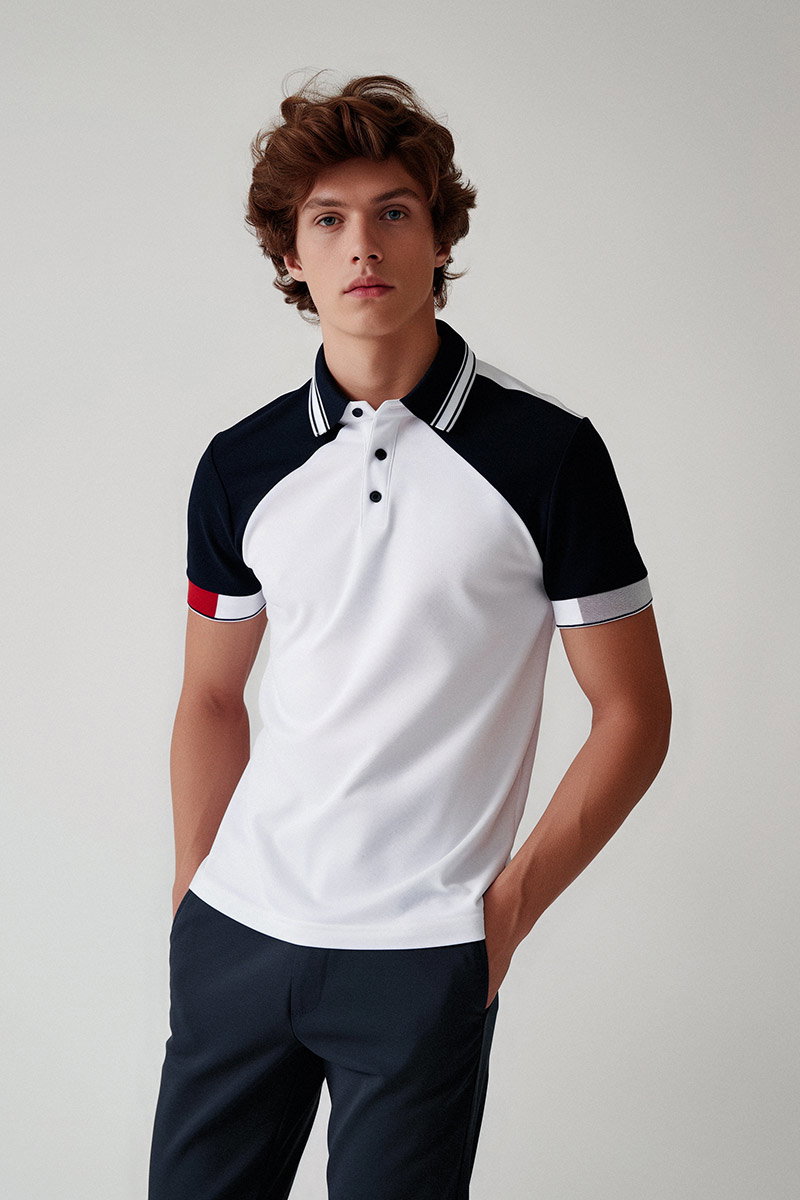
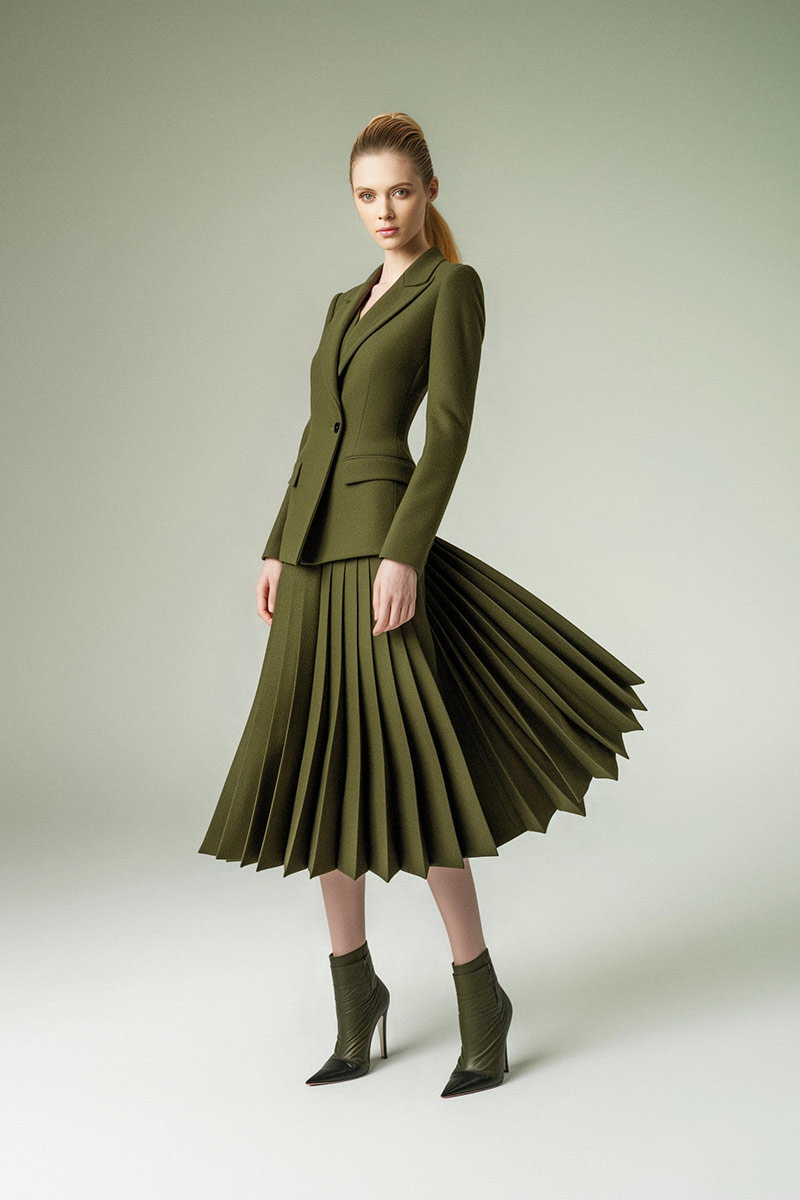
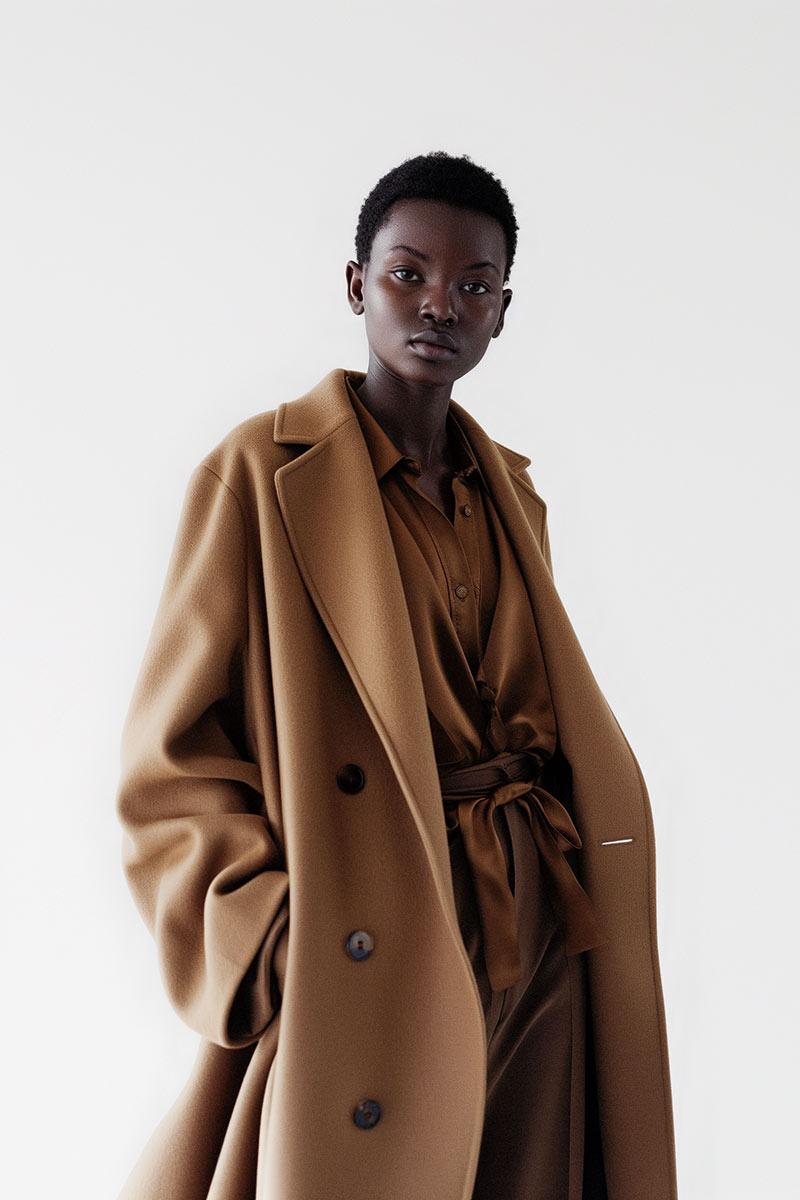
Preparation sets the tone for every shot. Start by removing dust, lint and fingerprints. Style items so their best features are visible — use mannequins or hangers for clothing, stands for jewellery and gentle shaping for soft goods. Keep props minimal and purposeful: they should support the product story, not steal the frame. Finally, plan your shot list so you capture both detail close-ups and the context shots customers need to buy with confidence.
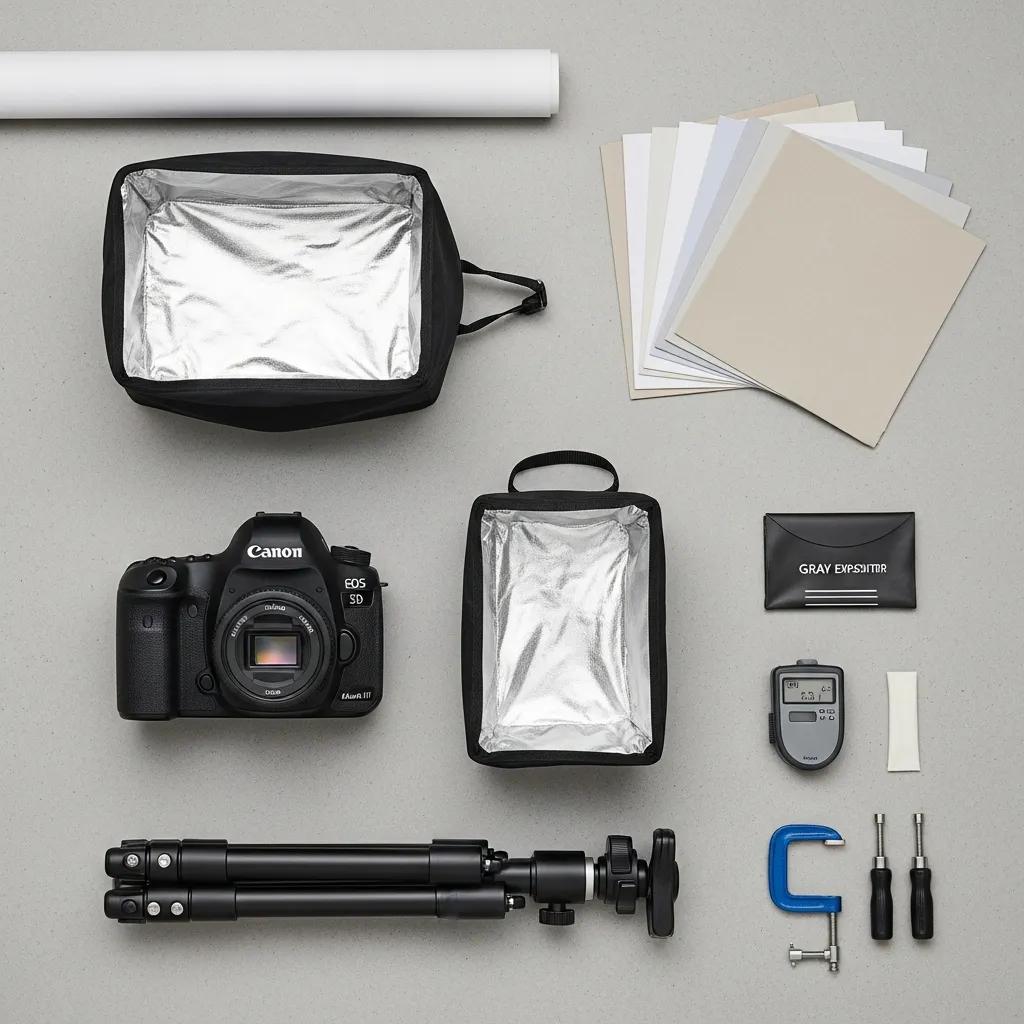
The right kit makes consistent results far easier to achieve. Prioritise tools that deliver repeatable, web-ready images:
Good technique turns equipment into compelling product photos. Focus on consistent lighting, clear angles and a shot list that covers what customers need to decide.
Lighting controls perceived quality. Natural light is flattering, but studio lighting gives control and repeatability. A common, reliable setup is two softboxes at roughly 45-degree angles to the product plus a reflector to lift shadow detail. For small reflective items, use diffusers and polarising filters to manage highlights. Test and tweak until the texture and colour read true to life.
Backgrounds and props should support the product and the brand story. Choose simple, uncluttered backdrops when clarity is the priority — especially for product listings. Use lifestyle props sparingly to show scale or context: a wooden board for kitchenware, a neutral stool for footwear, or fresh ingredients to hint at use. Keep the palette consistent with your brand to strengthen recognition across the ecommerce checklist.
Post-production is where consistency and polish come together. Edit to accurate colour, clean retouching and web-friendly files so pages load quickly without losing detail.
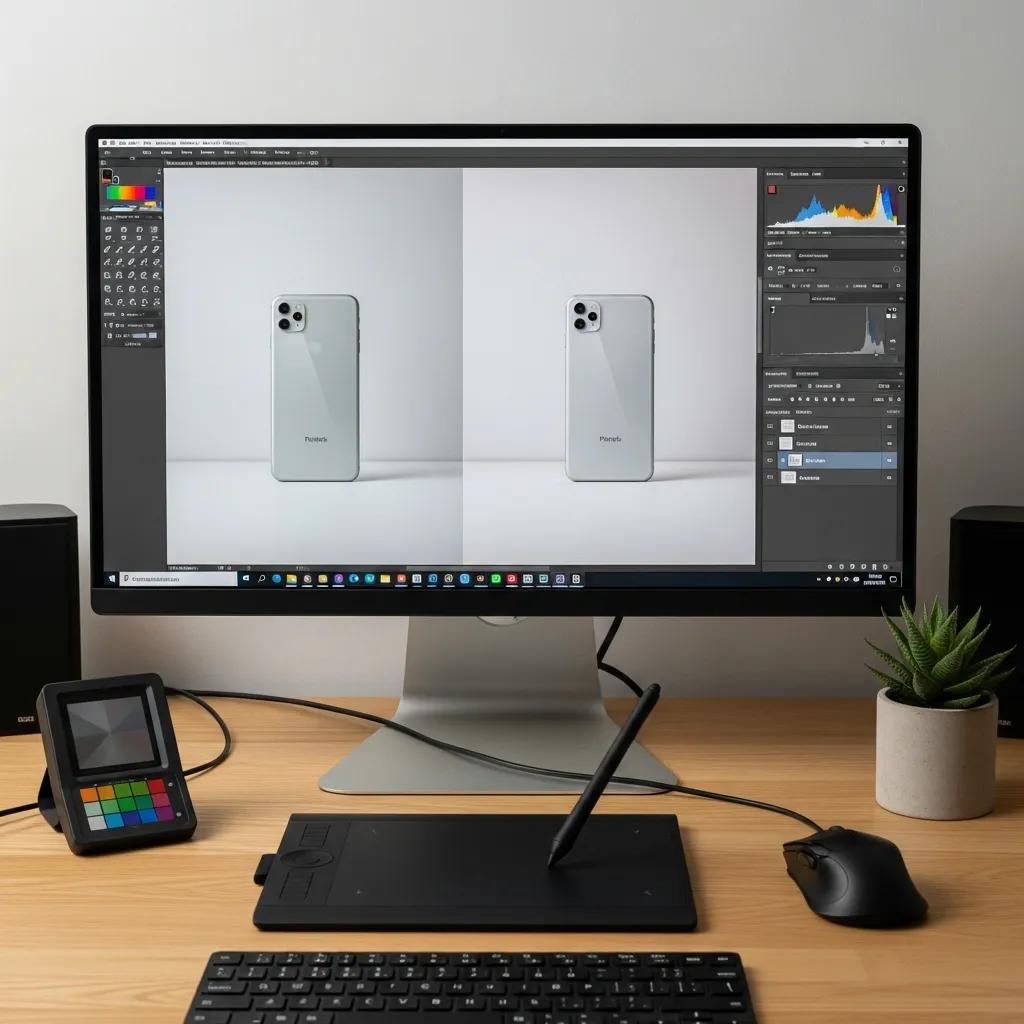
Work in a non-destructive workflow: import RAW files, set white balance, then refine exposure and colour so the image matches the product. Remove dust, stray fibres and sensor spots with careful retouching. Save sharp, properly cropped exports for each use (thumbnail, gallery, zoom) and keep a master file for future edits.
Choice of format affects quality and page speed. Use JPEG for most product shots (good quality at manageable file sizes). Use PNG where transparency is required. Compress images and serve appropriately sized versions for thumbnails and zoom views. Tools like TinyPNG, ImageOptim or automated build processes can reduce file size without visible quality loss.
Professional shoots save time, ensure consistency and deliver images that build trust. For many stores, that translates directly into higher conversions and fewer returns.
We combine technical skill with ecommerce experience: reliable lighting, product styling, consistent retouching and files prepped for your platform. That saves you headaches and lifts your product pages — clearer images lead to more confident buyers and better sales performance.
High-quality images make products look credible and desirable. They reduce uncertainty, encourage clicks and increase the likelihood of purchase. Consistent visual styling also reinforces your brand and helps customers recognise your products across channels.
Trends evolve, but the best approaches focus on clarity, authenticity and interactivity. Minimal, well-lit product shots remain essential, while richer content like lifestyle imagery and 360-degree views improves engagement.
Minimalist shots remove distraction and make product details easy to see — ideal for catalogue pages. Lifestyle images add context and help customers imagine using the product, creating an emotional connection that supports conversion. Use both strategically across your product pages.
Interactive 360° views let customers inspect products from every angle and can reduce returns. User-generated content provides authentic social proof and helps build trust — showcase real customer photos alongside professional images to give shoppers a fuller view of the product in real life.
Avoid uneven or harsh lighting, busy backgrounds and skipping close-ups of important details. Inconsistent framing across products and poor colour accuracy also hurt conversions. Keep lighting and styling consistent and always include clear detail shots.
Practice fundamentals: learn basic composition, experiment with natural light, and build a simple lightbox for small items. Follow tutorials, review your shots critically and ask for feedback. Small, regular improvements compound quickly.
Use a macro-capable lens or a close-focusing setup, stabilise the camera with a tripod, and light the product evenly with diffused sources. A lightbox helps control reflections and background, while careful focus stacking can keep small items sharp from edge to edge.
Consistency is essential. Uniform lighting, angles and background colour create a cohesive shopping experience and build trust. Create a simple style guide for your shoots and enforce it across your catalogue to keep pages clean and recognisable.
Resolution matters for clarity and zooming: provide high-resolution master files so customers can inspect details. For the web, strike a balance between resolution and file size — export appropriately sized images for thumbnails, galleries and zoom views while compressing to maintain fast load times.
Use colour to support the product and the brand. Ensure accurate colour reproduction through correct white balance and calibration. Choose backgrounds and props that contrast with the product so it stands out, and think about colour psychology when you want to influence mood or perception.
Follow this checklist to create consistent, accurate and compelling product images that help customers buy. Start with careful preparation and the right kit, refine your on-shoot technique, and finish with accurate editing and web-ready exports. If you want to scale quickly or need a polished catalogue, professional photography is a smart investment — and it’s what we do every day at EyeMedia Studios.