By the EyeMedia Studios team | With over a two decades specialising in ecommerce photography, we know eyewear inside out.
Great eyewear photos do more than document a product — they sell its shape, finish and personality. This guide pulls together the practical techniques we use at EyeMedia Studios to lift glasses and sunglasses above ordinary imagery. You’ll find proven lighting approaches, equipment recommendations and post-production tips that solve common problems like reflections, glare and lost detail. Master these methods and you’ll create images that clearly communicate quality and convert browsing into buying. The advice here is drawn from our studio practice, with practical tips for focus, 360° visuals and finishing workflows tailored to eyewear brands.
Outstanding eyewear photography depends on a few core practices: controlled lighting, precise focus, and consistent glare control. Over years of studio work we’ve refined routines — from focus stacking for full-frame sharpness to light placement that preserves lens clarity. These techniques don’t just improve image quality; they help convey a brand’s finish and craftsmanship. Learning them is the quickest way to lift your product imagery and align it with customer expectations.
Focus stacking means shooting several frames at different focus distances and merging them into one image with extended depth of field. For eyewear, where every hinge, texture and logo matters, stacking keeps the whole frame crisply rendered. In the studio we use a stable tripod, a camera with reliable manual focus control and dedicated stacking software (Photoshop or specialised tools) to combine shots cleanly. The result is a polished product image with consistent sharpness across lenses, rims and temples.
Diffused light is your best friend for eyewear. Softboxes, light tents and large diffusion panels create even illumination that tames harsh reflections. We also position lights at careful angles — a mix of side and subtle backlight often reveals frame lines while keeping lenses clean. For tricky reflective finishes, flagging and small-fill lights allow fine control. Simple diagrams of these set-ups help image consistent results, and they reflect the practical, repeatable methods we use in-studio.
Different products need different treatments. Luxury sunglasses, everyday optical frames and sports glasses each benefit from tailored lighting, styling and finishing. Match the technical approach to the product’s purpose and audience to create images that perform online — clearer product shots, lifestyle frames for aspirational contexts, and crisp action images for sports ranges.
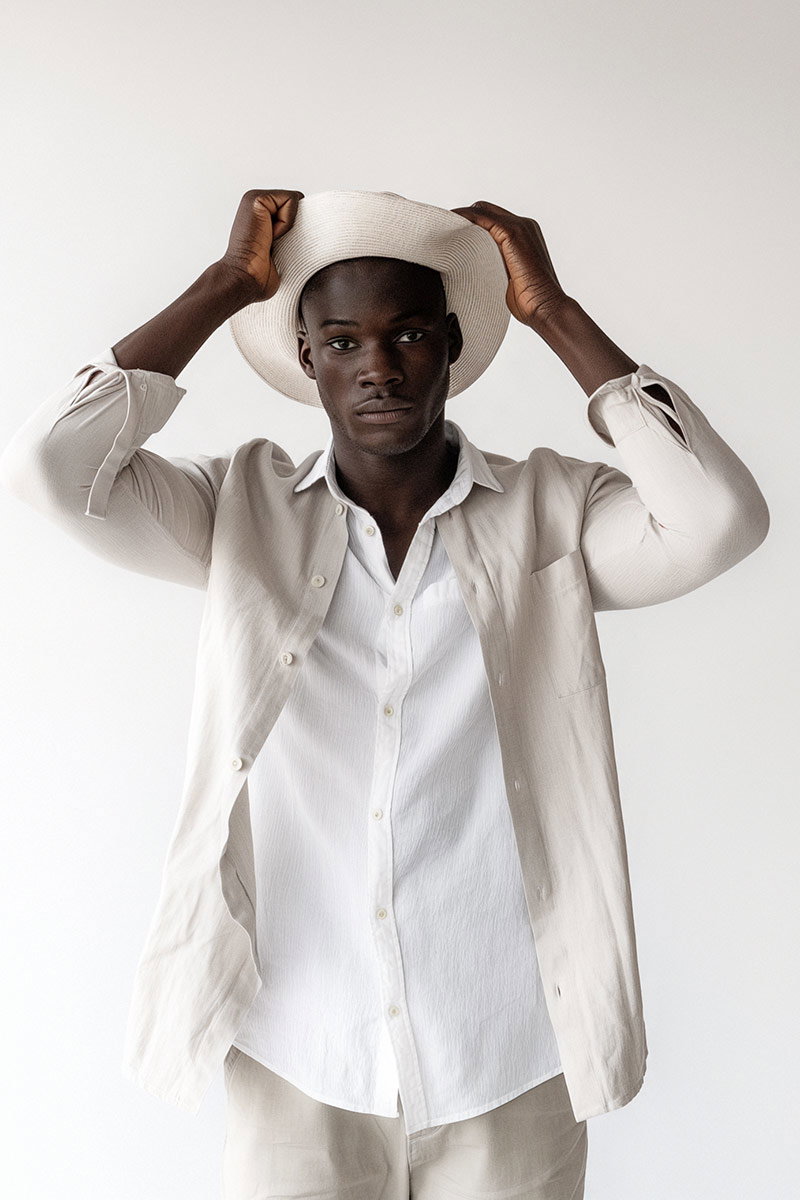
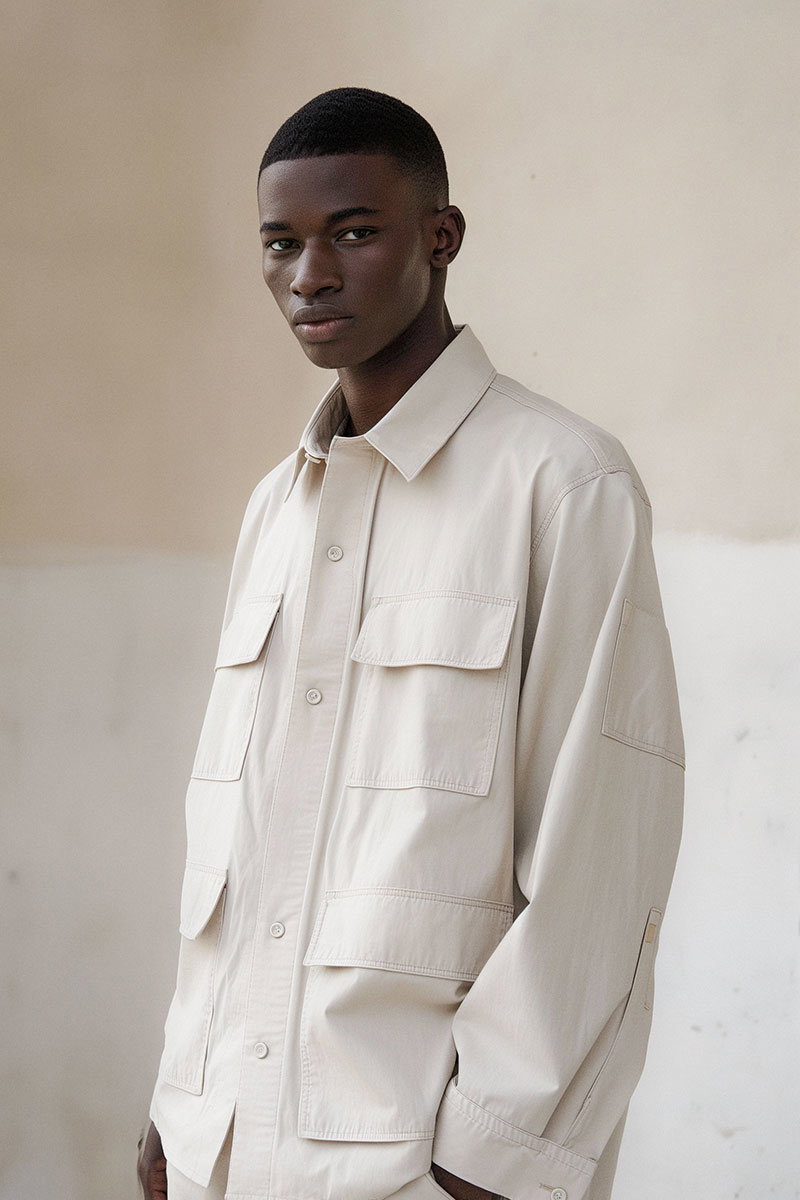
Luxury eyewear is about texture, finish and mood. Use refined backgrounds and high-quality props that complement — not compete with — the frame. Thoughtful styling or a model can add context for fashion ranges, while careful light control emphasises materials and coating. In post-production we focus on precise colour correction and subtle retouching to preserve authenticity while delivering a polished, high-end look.
Transparent and performance frames are challenging because of reflections and motion. A polarising filter reduces surface glare and improves contrast; a higher shutter speed freezes action for sports shots. Use a modest aperture (around f/8) for reliable depth of field so the whole frame reads sharp — avoid very wide apertures that leave parts of the product soft. These choices help isolate the eyewear while keeping essential details crisp.
Right tools, practiced technique will make you a better photographer. A macro-capable lens, a reliable DSLR or mirrorless body, and a solid tripod are the basics. Add polarising filters, diffusion panels and a lightbox for consistent, repeatable results. The gear supports the workflow; the controlled environment and experienced operator produce the images that sell.
A macro or short-tele lens gives the detail you need; manual exposure and focus provide control. We usually shoot with low ISO to minimise noise, choose a moderate aperture (f/8–f/11) for usable depth of field, and set shutter speed to match the lighting setup. These settings help deliver sharp, colour-accurate product images you can rely on across e-commerce channels.
Polarizers cut lens reflections so coatings and frame details show through. Diffusers tame harsh highlights and produce soft, flattering light. Lightboxes create a controlled environment that removes distracting shadows and keeps lighting consistent across a product set. Used together, these tools simplify shooting and raise overall image quality — a routine we use on every eyewear shoot.
Interactive 360° views let customers inspect a product as if it were in their hands. For eyewear — where fit, hinge detail and profile matter — that extra perspective reduces uncertainty and increases buyer confidence. We build interactive visuals that load quickly and behave well on mobile, because user experience is as important as image quality.
360° photography boosts engagement and helps shoppers evaluate details static images can miss. Shoppers who can spin a frame and check angles tend to convert more often and return less. Many clients see measurable uplifts in engagement and sales when they add interactive views — especially for premium and technical ranges.
Start with consistent, high-quality frames shot at regular intervals around the product. Those images are stitched into a smooth 360° sequence using dedicated software. From there, focus on performance: optimise file sizes, enable responsive behaviour for phones and ensure fast loading. When done right, interactive animations sit seamlessly within product pages and enhance the shopping flow.
Post-production finishes the story the shoot starts. Our retouching prioritises truthful colour, clean edges and natural highlights — not overworked effects. Use nondestructive edits, keep brand colour profiles in mind and apply targeted corrections to enhance frame detail while preserving the product’s real appearance.
Start with global adjustments for exposure and colour, then move to local work: selective sharpening for textured areas, subtle contrast to reveal metalwork and careful dodge/burn to shape highlights. Tools like Adobe Photoshop and Lightroom are our everyday choices — they let us produce consistent, repeatable results that make frames look their best without misrepresenting the product.
Post-production tools let you tidy residual reflections: clone and healing tools remove unwanted highlights, highlight/shadow adjustments restore detail, and selective masking keeps edits precise. The aim is a clean, honest image — removing distractions while keeping the lens and frame looking true to life.
Working with a local studio speeds communication, shortens logistics and gives you access to teams who understand your market. A London studio like ours combines creative craft with fast turnaround, which matters when product cycles are tight and visual standards are high.
At EyeMedia Studios we specialise in eyewear imaging and have worked with more than 100 brands. That experience translates into efficient shoots, tested lighting recipes and a post-production pipeline tuned for e-commerce. We focus on creating images that reflect brand positioning and drive sales across web and retail channels.
Local market knowledge helps us anticipate trends and adapt quickly, from seasonal styling to retail presentation. Being on the ground in London means faster feedback loops, quicker reshoots when needed and smoother delivery — all backed by studio workflows that prioritise consistency and speed.
Typical challenges include controlling reflections, matching colours accurately and keeping small details—like logos and hinges—crisp. Lighting that’s either too flat or too contrasty creates problems, and alignment or styling mistakes can make frames look off. A methodical approach to lighting, focus and finishing solves most issues.
Backgrounds shape perception. Neutral or softly coloured backgrounds let the product read clearly, while styled backgrounds can add context for lifestyle or luxury lines. The right choice complements the eyewear without stealing attention — and it helps maintain visual consistency across a product range.
Styling sets a tone. Accessories, props or a model can communicate target audience and lifestyle, turning a product shot into a story. Thoughtful styling boosts desirability but should always be secondary to showing the product clearly and accurately.
Social platforms shape visual trends and expectations. Images for Instagram or Pinterest often need stronger composition, bolder colour or lifestyle context, while e-commerce images prioritise detail and accuracy. Use social feedback to refine styling and creative direction, but keep product clarity as the baseline.
A professional studio offers controlled lighting, specialist gear and experienced operators who know how to avoid common pitfalls like glare, colour shifts and inconsistent framing. The result is dependable, high-converting images that align with retailer requirements and brand standards.
Track engagement and conversion metrics: click-through rates, time on page and conversion rate changes after updating imagery all indicate performance. A/B testing different visual styles and collecting customer feedback also helps refine what works best for your audience.